


Plan an Adventure
Similar Trips

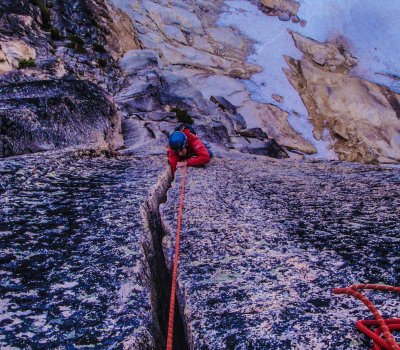
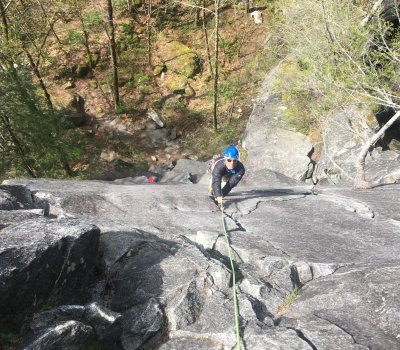
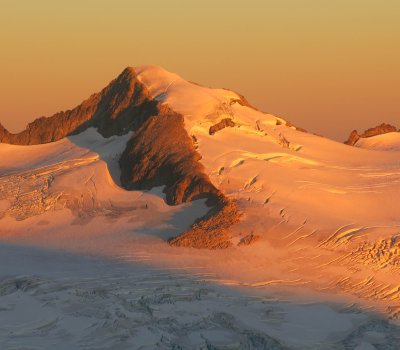
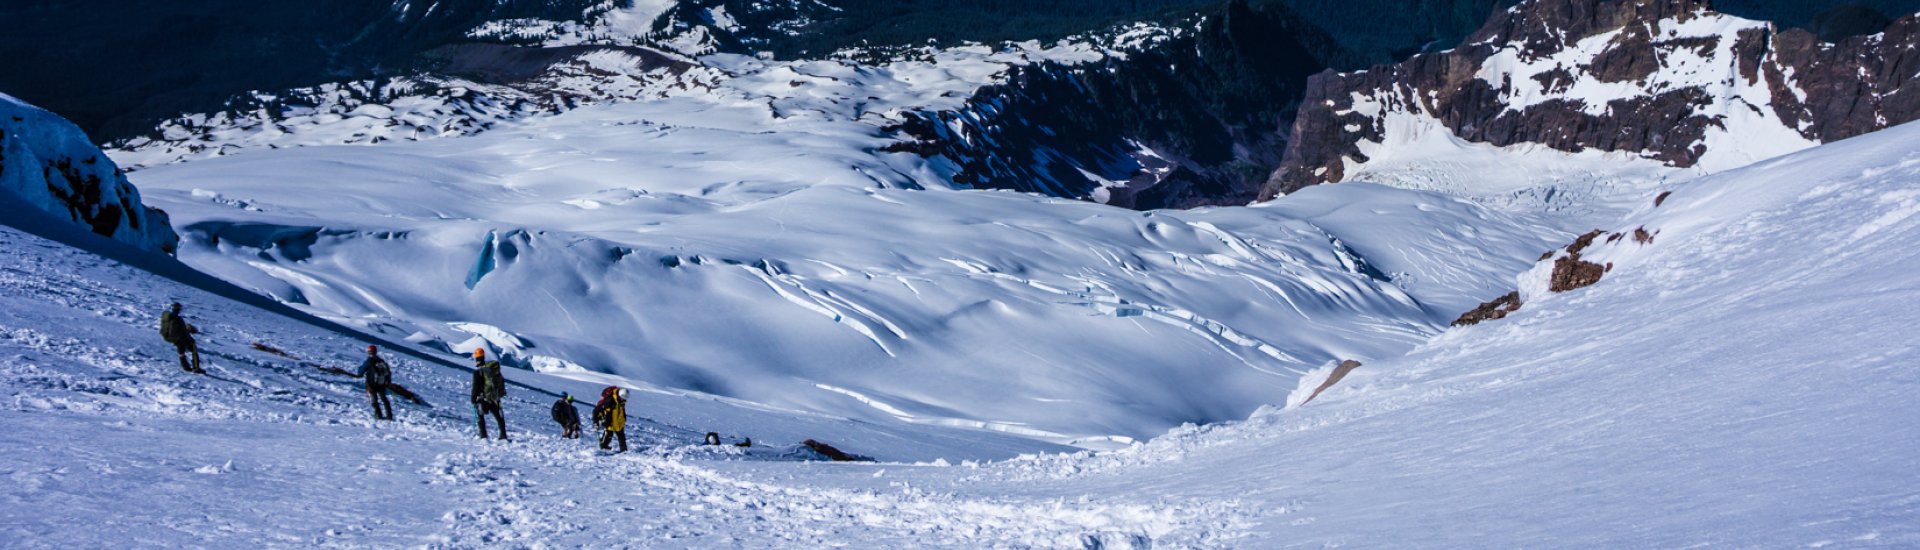
Explore a diverse array of outdoor adventures with our courses and private guided trips. From backcountry skiing to rock climbing, alpine climbing, mountaineering, and ice climbing, we offer expert instruction and unforgettable experiences in each discipline. Join us to embark on thrilling journeys into the wilderness and discover the beauty of these exhilarating activities.